All layer-by-layer manufacturing processes requires STL or CAD models to be divided into slices for part manufacturing. The 2D section of each layer allows us to determine the geometry of the slices. Whereas, the layer thickness determines the height of the filament extruded. Nowadays, most 3D printers use uniform slices which means each slice has the same layer thickness. The team of Cloud3DPrint worked tirelessly to add some essential slicing tools to their platform which will help the user in carrying out their 3D printing jobs more efficiently.
Which is a better slicing tool: Cura or SuperSlicer?
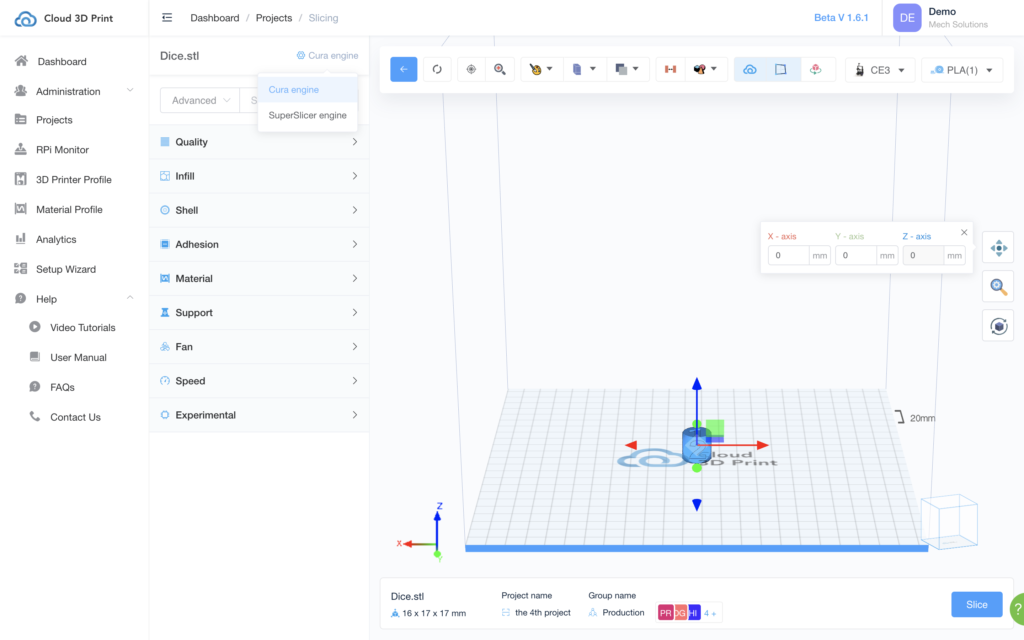
Our platform -Cloud 3D Print – has integrated Cura (made by Ultimaker) and SuperSlicer (made by Merill) as their two slicing engines. Cura offers a medium number of settings but its main focus is on user-friendly interface and flexible commands. Whereas, SuperSlicer has its own features which make this engine a unique, handy and powerful slicing tool.

Here’s what SuperSlicer offers!
Users are facilitated with more options to fine-tune their 3D models by providing more creative opportunities for their 3D model prints and the use of 3D printers. Moreover, the presence of Klipper – a firmware – in the SuperSlicer engine allows a micro-controller to work along with the 3D printer mainboard. This integration helps in reducing the processing time and improving printing performance by offloading tasks from the mainboard of the 3D printer to the micro-controller – such as Raspberry Pi. Now the users can carry out the manufacturing and processing of any 3D models more efficiently.
All You Need To Know About The Improved Features
- Clearing out the display of unnecessary travel trajectories
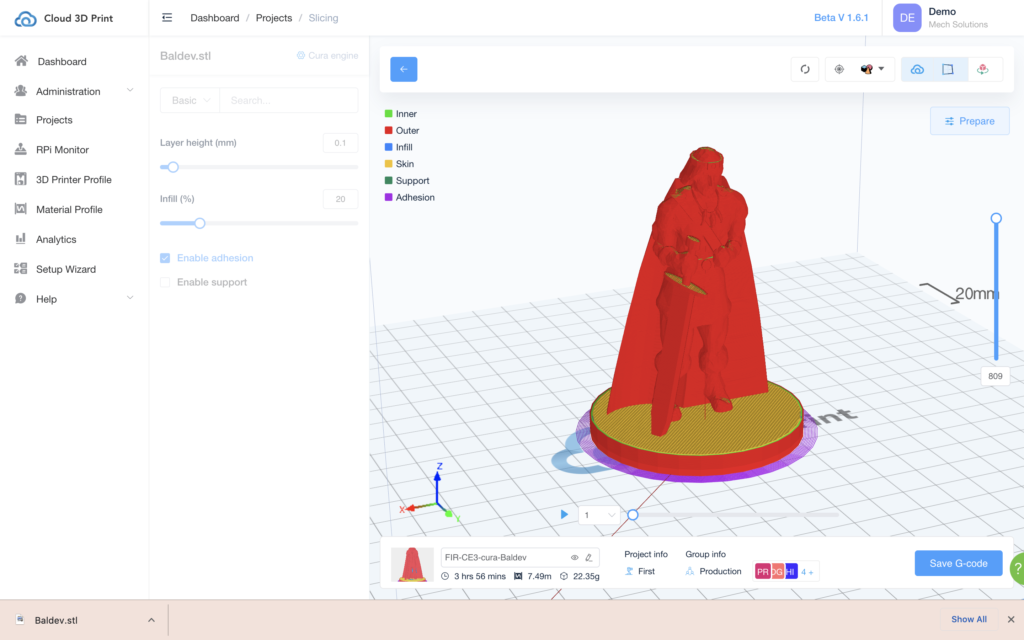
Previously, the animation of the G-code model had travel lines of trajectory that caused problems in the user interface. The rendering of G-code models has now been improved by cleaning out the display of unnecessary travel trajectories of the nozzle.

- Multiple 3D models can now be placed in a given fixed printing area
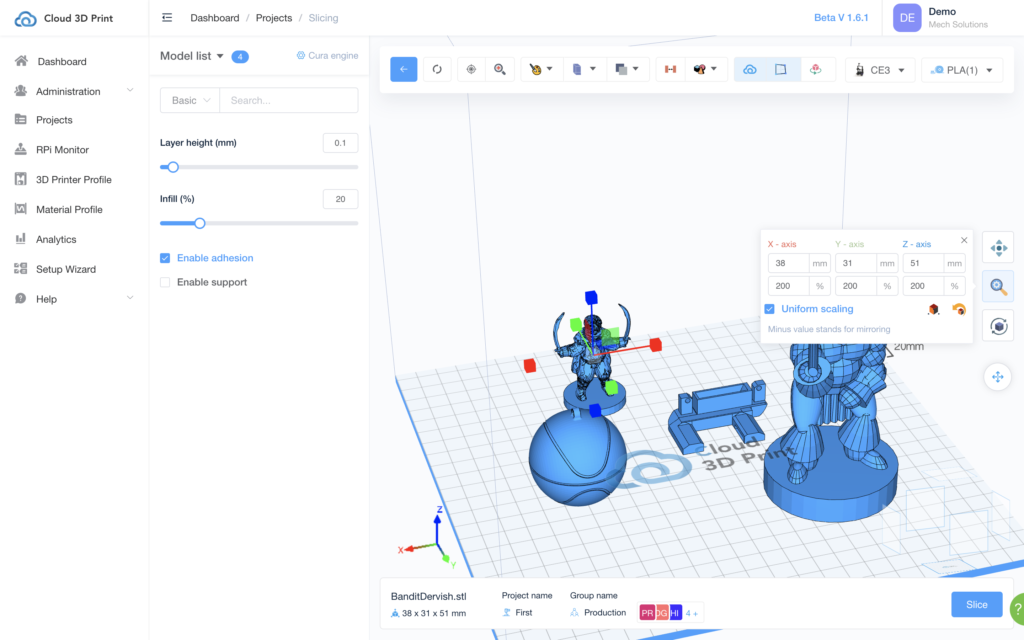
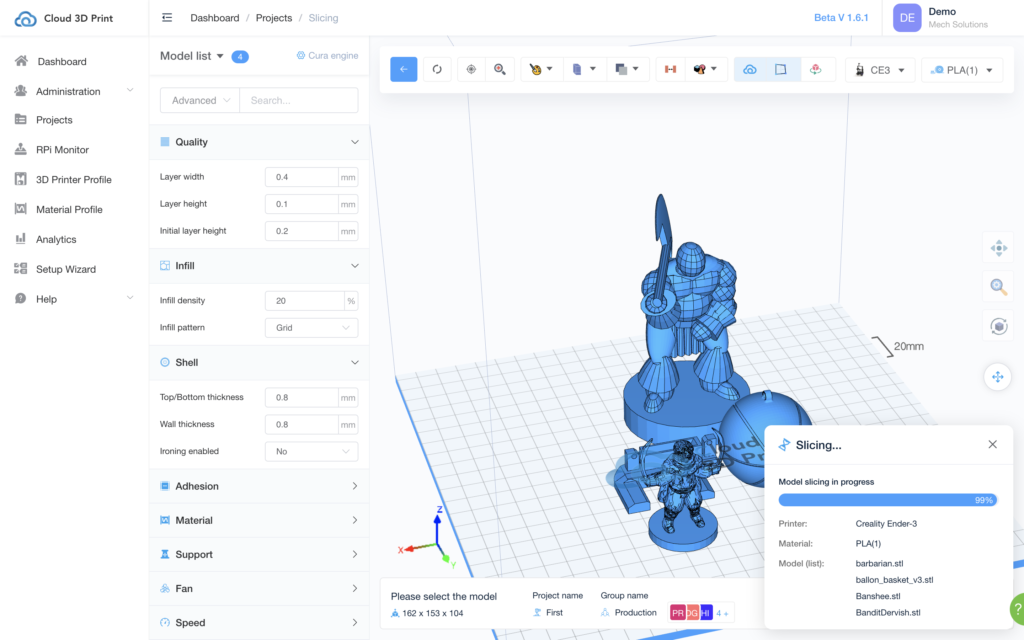
The users can now place multiple 3D models in a given fixed printing area. This allows slicing of multiple parts within the same set of parameters. This feature plays a vital role in various areas such as saving on filament costs, saving time to set the same parameters of different parts, and reducing the time gap between numerous print jobs on a shared 3D printer.

- Adding an essential feature – Auto-Nesting
While carrying out 3D printing jobs, our team noticed that significant time, energy and material was wasted on finding out an optimal arrangement and orientation of the models to be printed out. So they added a smart feature – Auto-Nesting – to the platform. Given a fixed printing area, the 3D models must be placed as close as possible and the build height should be minimized. Auto-nesting generates near-optimal solutions in reasonable time by rotating and positioning the 3D models. The option of auto-nesting allows the user to re-arrange multiple parts in packed arrangements and reduce post-nesting build height.

Our team is working to improve the existing production planning and scheduling approaches to further enhance the features of Cloud3DPrint so that it can meet the technical and organizational requirements.


